
With all the School Pictures, Holidays,
Vacations, etc. coming up,
Vacations, etc. coming up,
here's a perfect way to show off your favorite pictures.
Years and Years ago, I think it was in a magazine,
I saw this project and immediately wanted to do it.
I saw this project and immediately wanted to do it.
And now I have!
 Large Wooden Knob Balls with flat bottoms
 {the bigger ones are better}
Sawing implement, preferably a band saw
Glass {from a cheap frame or cut your self}
File
Decorations
 If you are Lucky enough
 to have access
to a band saw,
I highly recommend using it for this.
I used a hand saw,
and although it got the job done,
it wasn't very neat.
Plus it's very hard to
get the opening width right.
get the opening width right.

to the hole on the bottom.
Also, mark the width of the glass
so you know how wide to make the cut.
Saw until just a bit past the center.
This will help add stability.
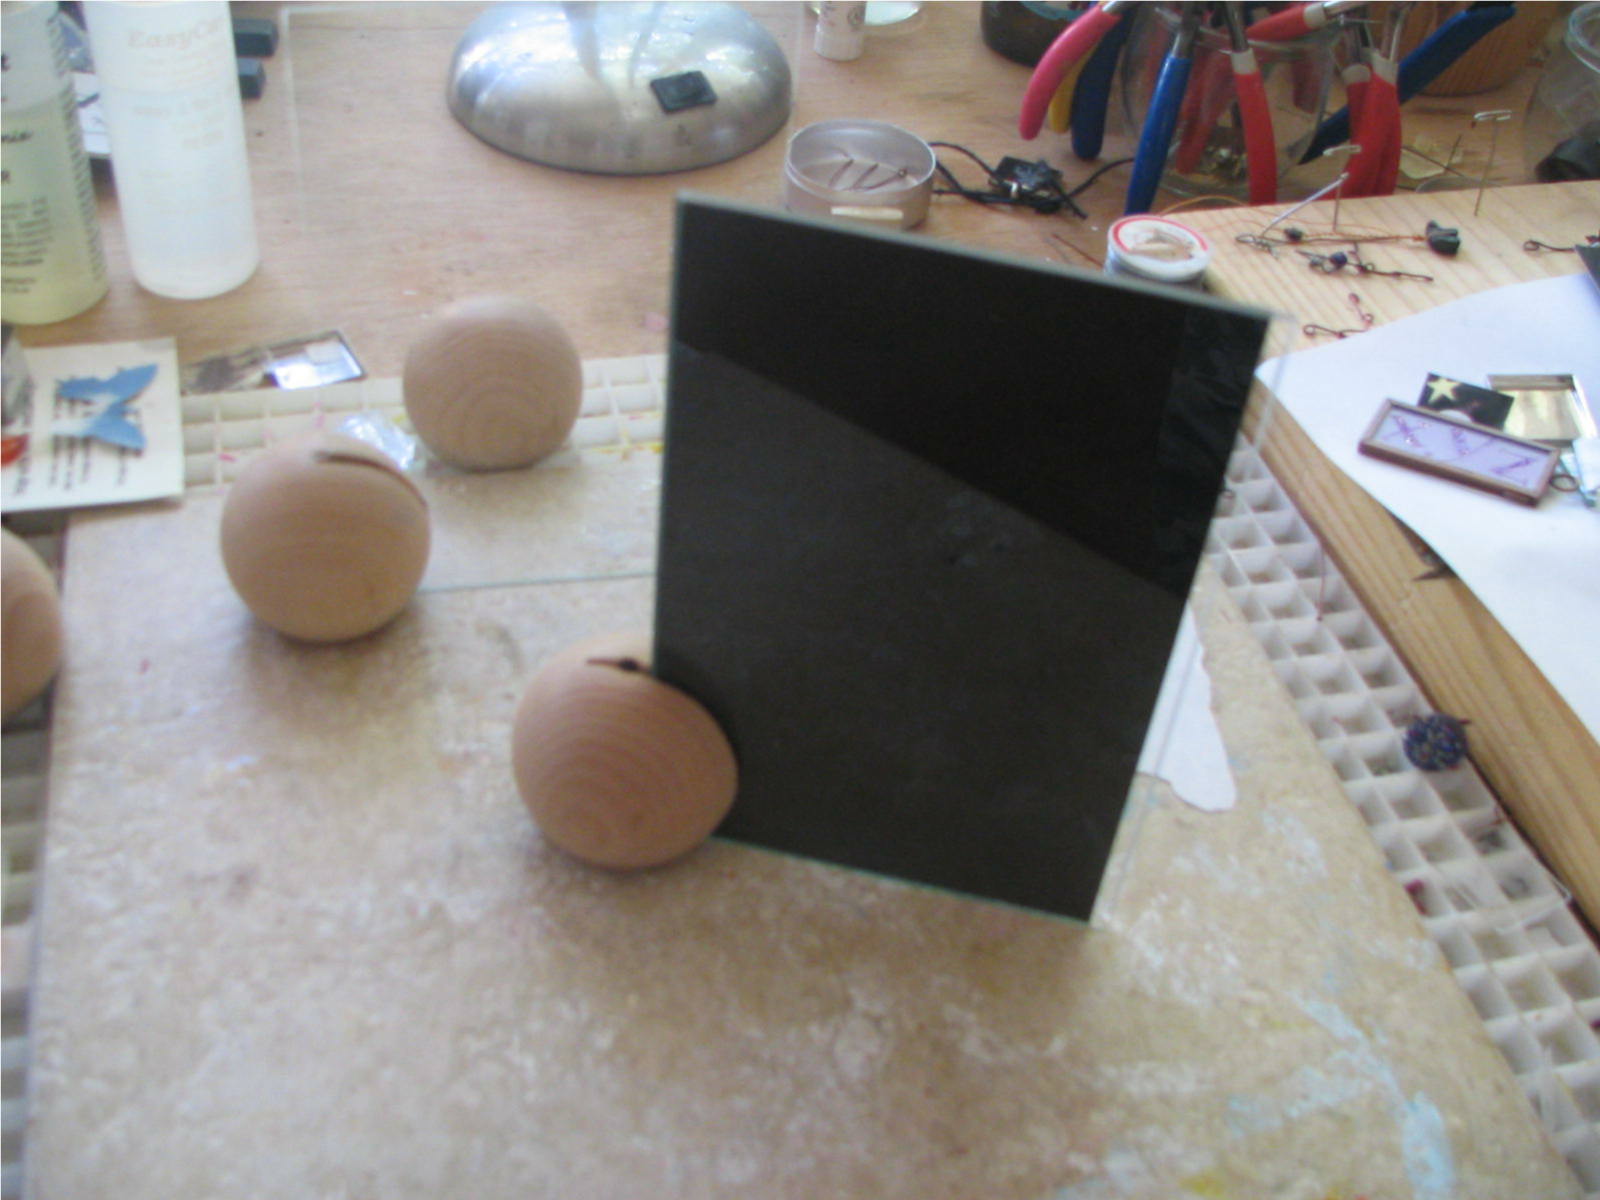 Once you have cut
 the rough opening,
test it by placing
the glass piece{s}
into it.
You want the piece{s} snug,
but not so snug that you are
NOT getting in a tug
of war with glass!
NOT getting in a tug
of war with glass!
I only used one piece of glass,
with the cardboard backing.
You also want to test it by placing it
on a table to make sure it's not tipping over.
I did have this problem with the first knob,
and I believe it was because the opening was to wide.
Use your file to clean up the inside
and the edges.
Decorate to your liking!


I used acrylic paint and mod podge,
but I really want to try staining it with
inks.
and of course,
there must be some with GLiTTeR~
must find band saw!!
9/29/10
9/29/10

I love this idea!! I think I'm going to have to add it to my list of crafty things to try. Thanks for giving such a great walk through.
ReplyDelete{Eric ~ Hey! thanks. I really want to bump these up to looking, cleaner and neater. They really are fun...
ReplyDelete