Showing posts with label Gift. Show all posts
Tuesday, May 24, 2011
Butterfly Necklace
A present was needed for a Girl in The Blu Man's class. She had done a very kind Hearted thing for Him, something most kids these
days wouldn't do. I wanted to return this, to let Her know, it did not go unnoticed.
I had the opportunity to ask Her about Her favorite colors. She replied "black & white".
She has the most vividly gorgeous red hair,
and I thought, how appropriate!
I just happened to have these Butterfly Pendants made which turned out to be perfect. She plays the Harp, so the Music ShEEt was Lagniappe! Luckily, I had the perfect Chain too.
Adding a note thanking Her for her kind heartedness, I slipped them into a muslin bag, and tucked it into Her hand as class let out the last day. She was smiling before She even opened it.
I have no idea if She liked it or not, I suspect I will find out in August when They resume school.
Apologize about the picture, which is a shame, because the Black GLiTTeR REALLY just shimmeys and shimmers. The Resin really highlights the Music Notes also.
Labels:
Gift,
GLiTTeR,
Jewelry,
Random Acts of Kindness
Saturday, November 13, 2010
Herbal Wish Candle
Being on the Pagan pathway, pretty much life long, I've learned its all in the attitude.
That's why wishes do come true....
My most favored way of working a little Magic is by Candlework.
I'm an Aries, Fire is my friend!
Working with Herbs and their associations, Magically or Medicinally,
creates a calming influence in My Life.
So when someone I know seems like they need a little boost of happiness,
I do one of two things:
*make Corner Cheesecake Brownies
or
*an Herbal Candle
I peruse the Herbal Almanacs and Books that I have,
selecting what feels like the right ones.
I try to limit it to 5 herbs because those Candles can get pretty heavy.
{and fire hazardy}
A friend was down recently, due to a fall out over a home purchase.
To cheer Him up, I put together a Herbal Wish Candle.
Using one large White jumbo candle,
I used melted wax to stick the herbs.
One of the Bettie Bloggers that I follow used
a Heat Gun to place her objects to the candle.
SWEET idea....but alas, too late for this project!
Place a sprinkle of Herbs on the Candle
and dribble some melted wax on it.
Try not to cover the herbs too much with melted wax,
because it dries white and hides them.
Also makes the candle very heavy.
These throughout history have powerful vibrations, or reputations, or what you will...
and they smell so Delightful!
{smells different when burning, more like an outside fire}
Frankincense ~ positive high energy, blessing, consecration
Myrrh ~ raises the vibrational level
Sandalwood ~ making wishes
Juniper Berry ~attracts healing energy
Rosemary ~ Cleansing and positive energy
Make sure the wax/herbs/candle are completely cool before wrapping in brightly colored tissue paper.
Add a note explaining:
what each Herb is representing,
not to leave candle burning unattended,
burn in/on appropriate holder like a large plate or a small clay pot with dirt/sand in it
but most importantly
To take a deep breathe,
clear your mind,
concentrate on your wish,
visualize it into your candle,
and Light!
If you put the candle out, make sure and do
your visualization every time you relight it.
I leave the spent wax and herbs outside, in the back corner of the yard.
Monday, October 4, 2010
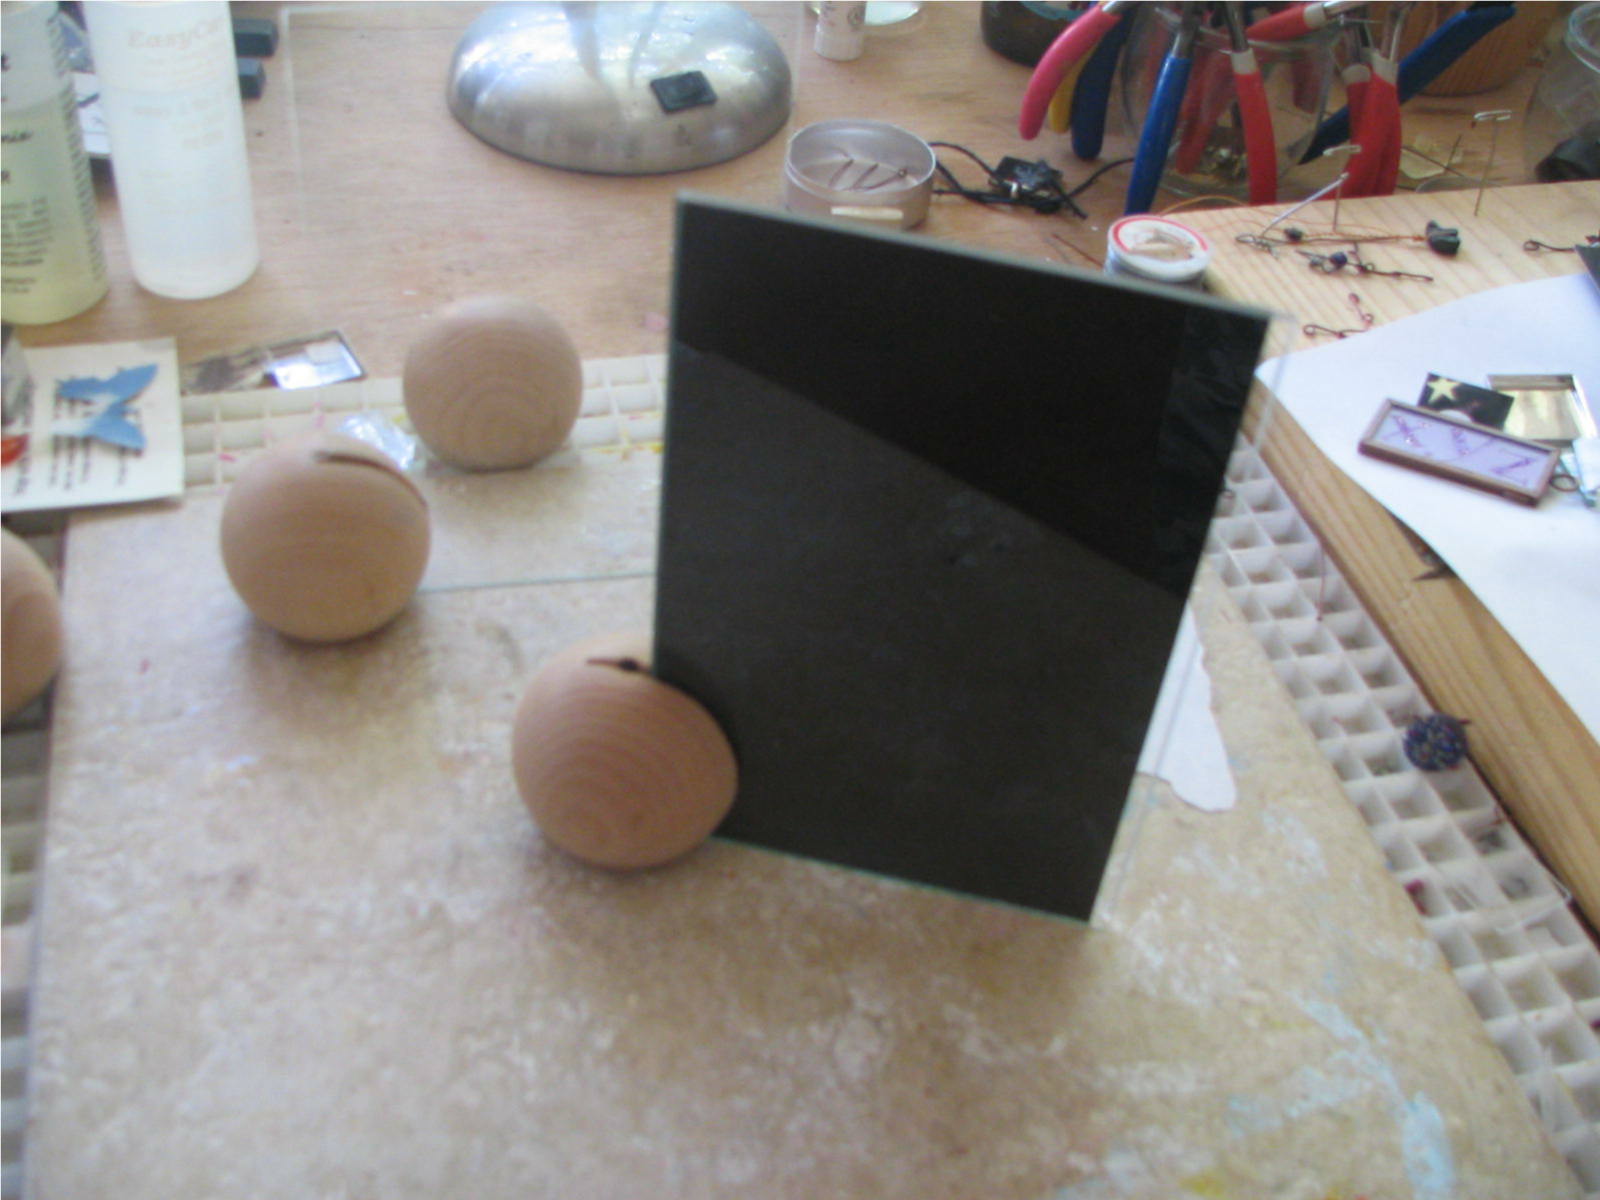
Wooden Knob Picture Frames
With all the School Pictures, Holidays,
Vacations, etc. coming up,
here's a perfect way to show off your favorite pictures.
Years and Years ago, I think it was in a magazine,
I saw this project and immediately wanted to do it.
And now I have!
{the bigger ones are better}
Sawing implement, preferably a band saw
Glass {from a cheap frame or cut your self}
File
Decorations
to a band saw,
I highly recommend using it for this.
I used a hand saw,
and although it got the job done,
it wasn't very neat.
Plus it's very hard to
get the opening width right.
to the hole on the bottom.
Also, mark the width of the glass
so you know how wide to make the cut.
Saw until just a bit past the center.
This will help add stability.
the rough opening,
test it by placing
the glass piece{s}
into it.
You want the piece{s} snug,
but not so snug that you are
NOT getting in a tug
of war with glass!
NOT getting in a tug
of war with glass!
I only used one piece of glass,
with the cardboard backing.
You also want to test it by placing it
on a table to make sure it's not tipping over.
I did have this problem with the first knob,
and I believe it was because the opening was to wide.
Use your file to clean up the inside
and the edges.
Decorate to your liking!
I used acrylic paint and mod podge,
but I really want to try staining it with
inks.
and of course,
there must be some with GLiTTeR~
must find band saw!!
9/29/10
9/29/10
Tuesday, December 15, 2009
Angel STaTue
The Chuck Man has always called me Angel.
I saw this ceramic angel statue at Hobby Lobby I bought it right away.
The Chuck Man is VERY hard to buy for, but I knew something like this He would like.
The supplies were very simple:
Acrylic paint in various colors
Brushes in various sizes
Water
I was going for a soft smudgy
look with the paint.
Using a soft cloth
to wipe away and blend.
I left the paint in the crevices
to create the depth.
Then I worked on the hair.
Using the same technique of light layering and wiping away,
I picked three colors that would {hopefully} blend to create my hair color.
For the Dress, I used a combination of Dark Red
{it says Christmas Red but it has a heavy orange tone to it}
for bottom layer and the Magenta over it.
Metallic CoPPer for the Wings, heavily wiped, and Silver for the bOOk.
I very barely managed to squeeze~write Tin Man hearts Angel on the pages.
And there you go.
The great thing about doing projects like this, is, You can be as simple or as elaborate as You would like. I really wanted simple, rustic, look.
As usual, the pictures look bland, no details really emerge.
But He LoVed it.
She sits on His desk at work.
Subscribe to:
Posts (Atom)