Showing posts with label GLiTTeR. Show all posts

Sunday, August 26, 2012

ReCoLLeCTioNs GLiTTeR


I am in LoVe with these GLiTTeRs!
These GLiTTeRs are Irish Crack,
so much FuN are They.
It's the TeXTuRes that are really Rockin.

and a briLLiant assortment of CoLoRs.
The Tinsel GLiTTeR is my second faVe.
It's got Priscilla written alll over it
{Priscilla says: Got Body Glue?}


These next two are regular extra fine GLiTTeR,
but I bought them for the CoLoR.
The Raspberry is a bit darker 
than in the picture,
and I have some special PaPer 
waiting just for this one.


The Frost 
is one I've been having a LOT of Fun with.
The GLiTTeR lightens up 
quite a bit once it's been glued.
It's a Yulemas pale shiMMer, 
that you can darken by adding
more layers.


THIS is the one that gets my 
punk rock, rock and roll Art Heart goin.
The Microbeads!


These are a bit tricky.
I haven't quite found the best
way to use them.
When you pour the beads on, 
it lumps and can get very uneven.
I did get better results 
by using the sprinkle side,
but when I added 
the second/third coat,
it glumped up. 
No worries, 
it's one product I don't mind
having to keep trying out over and over!


These are a more than welcome
addition to my Supply Cabinet.
So far, I've gotten really nice results,
just as nice as Martha F'n Stewart's
{cause Martha is da bOmb!}.
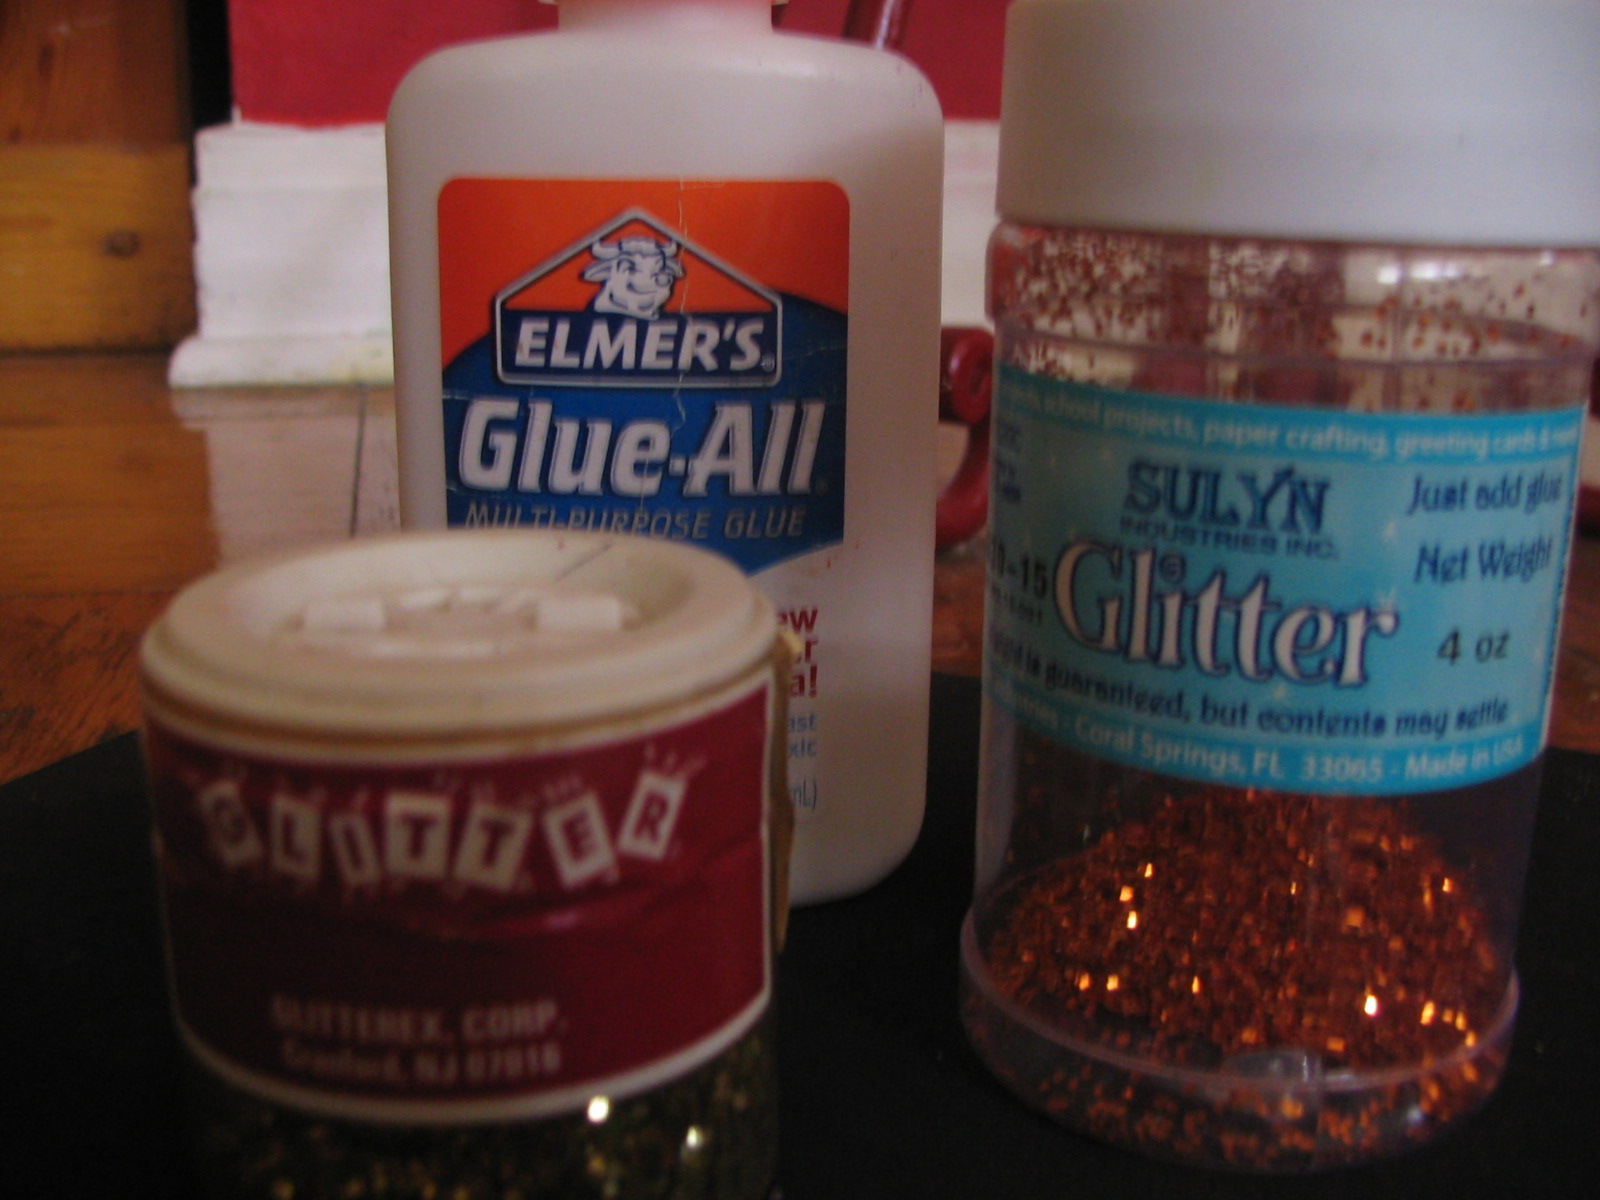
and those square jars are so grOoVy. 
The jars are large, with double openings,
one for pouring,
one for sprinkles.
Replacing GLiTTeR back in jars 
is so much easier also.

I can't wait to add more selections
to my collection.
Especially the textured GLiTTeRs.

DON'T FORGET~
Check your store for on~line coupons.
{I bought these from Michaels.}
I thought the Hob Lob carried them,
but I can no longer find them. 

Wednesday, August 8, 2012

Tuesday, May 8, 2012

MaY's The Elk

 The best and most Beautiful Things in this World 
cannot be seen or even heard,
but must be felt with The Heart.
~ Helen Keller


Elk Rider Watercolor

Elk Bag set

GLiTTeRed Elk

Elk Earrings

Elk T`Shirt

Elk Messenger Bag


Elk Figurines


Elk CuffLinks

Mary Janes

Saturday, February 11, 2012

PrisciLLa's EarThLy DeLights

 I fell in LoVe with these cardboard GLiTTeR Bird ornaments
{Priscilla says: Everything is better with GLiTTeR, Sugar!
Who doesn't want to shine??}

This one is extra special ~ the head pops off
and you can stash a treat inside!


I'd like to get a Pink One, and a Blue One to compete a personal set.


If this Byrd could talk, oh the stories it might tell....


TinselandTrinkets

Wednesday, December 21, 2011

Styrofoam and PiPe Cleaner Bells.....

 
 I LOVE KINDERGARTEN!

 Party time in the fun house.


The K`kids were Super excited to find out
that with their Holiday party, they were
going to do an Art Project~

Styrofoam and PiPe Cleaner BeLLs....
WITH GLiTTeR!


We had the Kinder's tear pieces of Tissue PaPer up,
   and then glue them the Styrofoam Cup. 
If you do use GLiTTeR like we did, 
have the Kinder's decorate the cups with GLiTTeR
after placing the Tissue PaPer on. 
You want to give the glue some time to dry
before doing the next step.


While we waited for the cups to dry, we had the kids attach their BeLLs to the PiPe Cleaners. Slide the PiPe Cleaners through the loop on the BeLL and have them twist it.

You want a few inches twistability for two reasons:
1. To have enough to secure the BeLLs tightly
2. The Twist will be your anchor to keep the cup on 
   and still allow the BeLL to jingle.


Using a Pencil {hey teacher, I forgotmy Peeeencil!} 
punch a hole in the top of the cup to push the
PiPe Cleaner BeLL through, and Shazam! 
You've got a Styrofoam and Pipe Cleaner Bell!

Bring on the Ringers....

Friday, December 9, 2011

GLiTTeR PineCones


Continuing with the Ornament Creations
We gathered up some pine cones
Brought them home and then
"baked" them in the oven on 225
for a couple of hours because
they were wet and needed to be dried out,
which opens them back up.


DO NOT amp up the oven temp to try and hurry up the process,
for you shall haveth burnt smoking pine cones....


 Supplies:
----------------
*Pine Cones
*Glue
*GLiTTeR
*PiPe Cleaners or other hanging material
{we used Sparkalicious PiPe Cleaners,
but CoLoRfuL Yarn would work really well, too}

Once they are dried and opened up sufficiently,
all that's left is to twist the pipe cleaner to the top,
dribble glue on all sides.
Dribble,
Don't Drobble,
or you'll have great big blobs of sporadic GLiTTeR.

Shake pine cone firmly, but gently to 
remove excess glitter.
Set up to let dry.
Once it's dry 
add randomly to your tree for 
some extra sparkly goodness in the Yulemas spirit.

{it's looking more and more like I need a new camera!}


Tuesday, December 6, 2011

GLiTTeR Acorns


 Easy craft and lots of fun.
And they look GREAT on the Tree.

Acorns
Glue
GLiTTeR
PiPe Cleaners
Green Wire
Dremel/Drill


Gathering the Acorns is a great Family Do~gether!
The bigger your acorns the better.

Once you've collected your Acorns,
separate the cap from the acorn and
make sure they are clean and dry.

First decorate the Caps; they will need time to dry.
I used Elemers Glue and Silver GLiTTeR.
Spread liberally, not drowningly, the Glue on the cap.
GLiTTeRiZe! 

You can also GLiTTeR the Acorn and leave the Cap natural
{I can't find my pics of those!}

Using a small drill bit {I used my Dremel} drill hole in Cap to insert hanger.

For the hanger, Sparkalicious PiPe Cleaners really rock,
as does the Green Wire.
Using any needle nose, flat nose, etc. pliers
to crinkle the Wire adds a really great accent.

Secure hanger with some Glue.
Place enough Glue to adhere to the Acorn and reattach the Cap.

Using a bowl of rice, or sand/dirt, beans
is great for setting the acorns up while they set up and dry.

Once the GLiTTeRed Acorns are completely dry,
hang on Tree, 
or any other surface
and Enjoy.

Monday, October 24, 2011

Bats for Class Projects.....


 With the youngest WombWeeble in Kindergarten now,
I get to start all over with the crafts projects
and that means GLiTTeR....sooo much GLiTTeR!


One of our favorite evening time activities
is looking for the Bats, 
on our after dinner walks as they come out for the night.

Coincidentally, the Kindergartners will be starting a unit on Bats right after Halloween.
What a great thing.


Black Foam
Chalk
Clothes Pin
GLiTTeR
Glue
Scissors


Using the Chalk, draw and cut out a single unit for stencils.
It makes it much easier when you have 23 sets you have to draw and cut.
REALLY sharp Scissors helps the cutting process a lot.
I wanted the Bats to be big enough to cover the Clothes Pin.


After drawing and cutting the pieces,
I gave them a quick swipe in the sink
with plain water and a sponge.
Then laid them on a towel to dry.


      Bats at the beach...


Once the pieces are dry, begin Gluing.
Body to Wings,
Wings to Clothes Pin.

Then the Fun.

Oh, Joy....GLiTTER!


 Bats have many straight lines that are easy for 
the Kidds to work with,
especially with Glue and GLiTTeR.
You'd be surprised, or maybe not,
how many Kidds don't even do this simple
craft anymore~
pity.


Here's to Kindergarten Art!
Long live the Inner Child.

Sunday, July 31, 2011

Rainy Day Froggalicious


I ToTally LOVE these Froggies.
Great fun on a Rainy Day...
and we've been having LOTS of them.

The CoLoR combinations are
Never~ending. 
Between the Dye and the GLiTTER!
I can produce a whole Rain Forest.


Thanks to the new Dremel Work Station
the Chook Man gifted Me with,
I can now add lots of Shiny Decorative Stuff
to make these Froggies sing.


But what I really want to do
is make brOOches out of them
and wear 5 at one time,
a whole Frolic of Froggies
....GrOOvy.

Tuesday, May 24, 2011

Butterfly Necklace


A present was needed for a Girl in The Blu Man's class. She had done a very kind Hearted thing for Him, something most kids these
days wouldn't do. I wanted to return this, to let Her know, it did not go unnoticed.

I had the opportunity to ask Her about Her favorite colors. She replied "black & white".
She has the most vividly gorgeous red hair,
and I thought, how appropriate!

I just happened to have these Butterfly Pendants made which turned out to be perfect. She plays the Harp, so the Music ShEEt was Lagniappe! Luckily, I had the perfect Chain too.

Adding a note thanking Her for her kind heartedness, I slipped them into a muslin bag, and tucked it into Her hand as class let out the last day. She was smiling before She even opened it.

I have no idea if She liked it or not, I suspect I will find out in August when They resume school. 

Apologize about the picture, which is a shame, because the Black GLiTTeR REALLY just shimmeys and shimmers. The Resin really highlights the Music Notes also.

Wednesday, April 13, 2011

Butterfly, Sugar...


From the Studio in Kelly's Frontier....

This is a project I've been working on for awhile.
Using patterned papers, I snap out some Butterfly cut~outs,
GLiTTeRize them,
then carefully dip them in Resin.
I'm still working on the Resin part.

The possibilities are endless....
I'm thinking these would make a great mobile for a Child's rOOm.

Sunday, March 27, 2011

Seashell Trinket Treasure tray

I had these left over shell bowls
from the ball
not to mention,
but will,
all those damn
Mardi Gras beads!


What the hell am I supposed to do with them?
Then I decided, Hey, why not make a Trinkets Tray.
Supplies:
*************
Resin
Decorative plastic Sea Shell
Plastic Beads, assorted;
Large White Beads for the "pearl", cut 1 from strand
Decorative Rocks, plastic or glass
Star beads/sequins/charms
GLiTTeR
Glue


First thing to do is fill the bottom.
Toss your Decorative Rocks in,
and mix up your Resin.

Once the Resin is ready,
pour over the rocks to just cover them.
I had a few bumps where the resin didn't 
quite cover and it was fine.
Not enough ~ just mix a bit more
Too much ~ make up a few pendants
I also poured a bit of resin the seam 
of the two Shells to secure it.
Sprinkle just a wee bit of GLiTTer in.


Depending on what type resin you use,
around 10 to 15 minutes,
check the set.
Remember the Prell commercial where they put the pearl in it?
you want that kind of thick.
Set your Stars and your Pearl in the resin.
Sprinkle a wee bit more GLiTTer on the resin.

Once the Resin has completely cured/dried,
start gluing your Decorative Beads for trim.
I used one strand of Pink for the upper Shell
and cut three strands of Gold for the seam.


ah, Cher', you've got a treasure!

Thursday, December 16, 2010

Vintage Traditional Stockings....

Felt Stockings,
Elmer's Glue,
GLITTER!

can't get more vintage retro than that~
We tried the fancy stockings one year,
and it just didn't have the same feel.

Plus, these babies hold a lot of loot,
um, I mean Goodies and Sweets.

I wish I had a picture of the year we had 
13 of them hung up across one whole wall...
yeah.

Nicknames add more fun to the project.

I like to use the 
Red/Green/Silver combination GLiTTeR.
  This has the most Festive feel to it.


Gently and on medium heat,
iron the stocking using a small towel 
or cloth napkin as a barrier
{you don't want your felt, to melt}


Write the name in glue,
pour on the GLiTTeR,
allow to set for about 10 minutes,
gently shake off the extra GLiTTeR,
and let completely dry.


The Family Loves them.

Now get to stuffing......