It was so delightful and satisfying to finally learn to build
my own canvas frame for painting.
No more paying for overpriced canvas's.
I'm in need of a practice Canvas,
and this pOor wOOd was going all Wonky,
plus I had the Saw out....
hey, Opportunity!
Let's make a Canvas.
While I was taking University classes,
I would just take my wood to the shop,
and let them cut it for me.

With minimal tools, You can do it your Self.
1x2 WoOd Boards
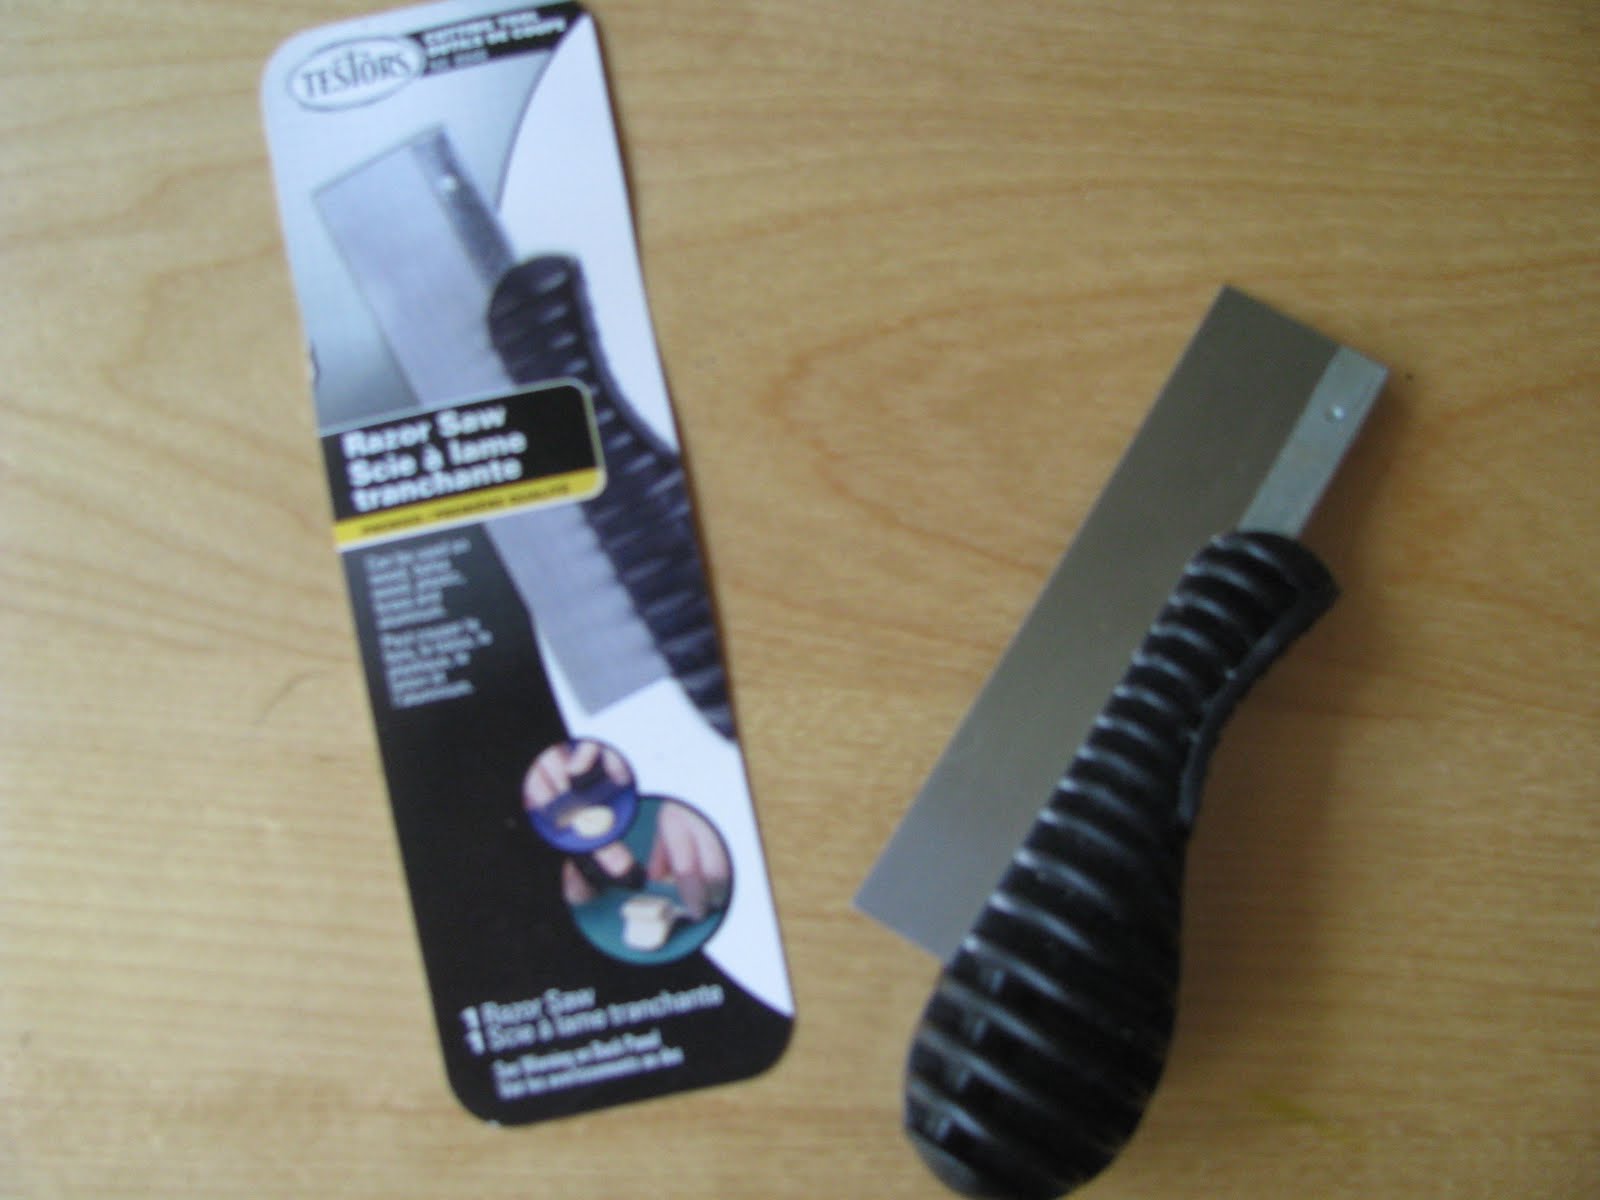
Saw
Headless Nails
Corner Brackets w/ Screws
Drill
1/4' Quarter Round
Hammer
*****
First,
If you have access to a Table Saw, this is the Best.
You can bevel the long edges
and cut your end angles, all at once.
Plus, you don't have to worry about the QR.
Sweet.
*****
If not, a Miter saw ~ Electric or Hand,
will do.
I cut my straight lines and then my angles.
But you can also get two angles from one cut
{which will save a LOT of time with the Hand Miter}.

This site has a great section on the two Miter Saws:
*****
If using the QR for the eDge,
use the 1/4 Quarter Round
the same size as the 1x2,
attaching them with headless nails.
{also shown in above tutorial}
*****
I use the 1x2 pine boards.
Lay them out on the store floor to check for straightness.
Depending on how big your want your frame,
will depend on how many boards you need.
Don't forget to add the Support Beams
for the inside of the frame to your measurements.
They are fairly inexpensive.
Gather your Supplies and begin.
Remember the golden rule:
Measure. Measure again.
Measure.
Then cut.
Once you cut all your WoOd,
start putting it together.
Using Headless Nails, Corner Braces, and a Drill
I put the frame together.
WoOd Glue is optional.
This is always the worst part for me.
I am constantly struggling to get a good clean corner.
It really would BeHoOve you to invest in some Corner WoOd Clamps
{Harbor Freight has them for $4 each}
Since I'm using this as practice on the building and painting part,
I'm not going to get obnoxious about the corners.
There's nothing bitchier than having to take apart a complete Canvas
to shave off 1/4 inch from one pocky corner!. and yes, yes I have.
I will put some wood glue on the corner cuts after checking to fit,
and using one or two nails, tack the frame together.
After checking the fit again, if there are no adjustments,
I put in the Corner Braces with the Drill
When measuring for the Support Bars,
I add an extra 1/4 inch to the length, for a snugger fit.
It's much easier to shave a bit off,
than have the damn thing too short and wasted...and yes, yes I have.
Insert middle support boards and attach with nails or some smaller corner braces.
My canvas's are usually big so I do the braces for extra support.
Ta!Da!
You have a naked Canvas Frame.
Tomorrow, we shall clothe it.


 With minimal tools, You can do it your Self.


 its sturdy


