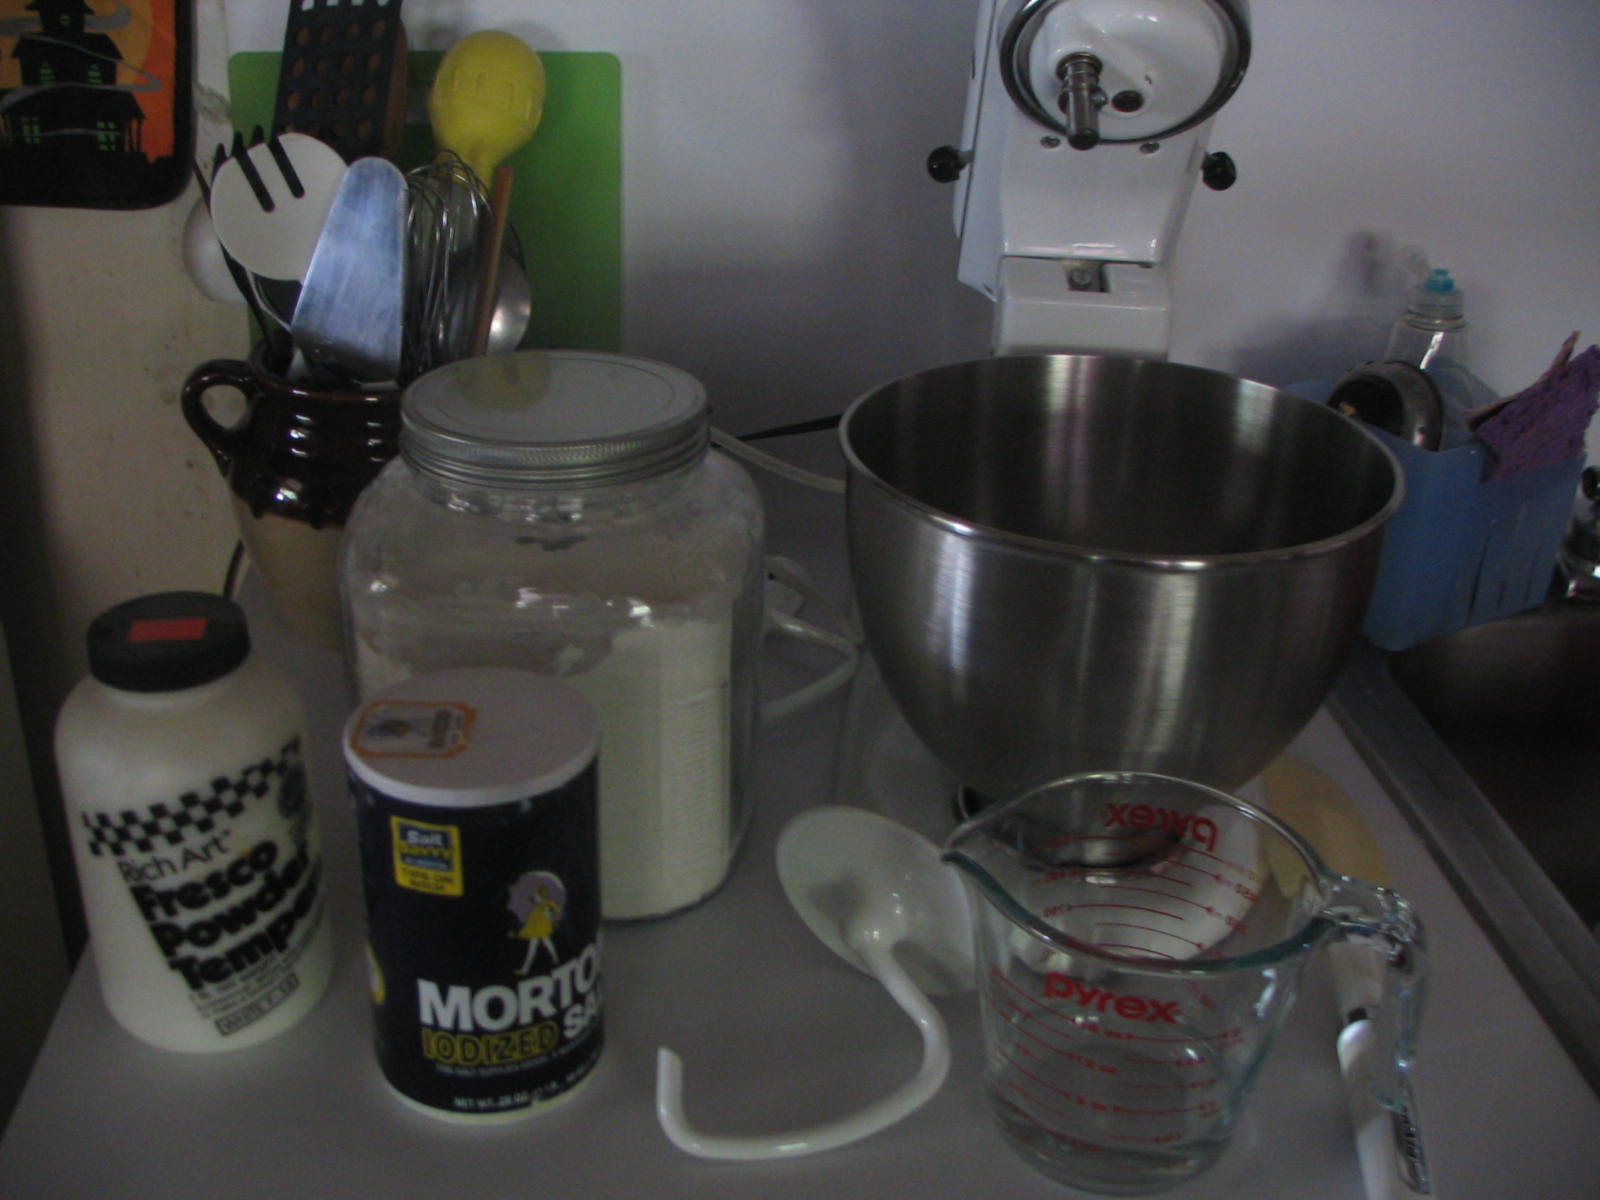
I've been having a lot of fun with this bread dough.
A recently bought Holiday Crafts magazine
featured an artist who did these for her project.
I instantly thought "CooL. I wanna do that"

So I did.
I used a basic recipe:
*************
1 cup Flour
1/2 cup Salt
1/2 cup Water
Additional Ingredients and TooLs
*************
Mixer with bread dough attachment
Color ~ food coloring, Tempra Paint, Acrylic Paint
Fine point or Ultra Fine Point Sharpies or suitable type pens
Varnish
or
Wax
or
Clear Polyurethane Spray
Yarn, Thread, String for hanging
Put the Flour and Salt in the mixing bowl,
turn to low/low medium speed, and slowly add the Water.
Make sure all the Flour, especially the sides and bottom are thoroughly mixed in.
Let it knead for approximately 8 - 10 minutes
{helps the Salt dissolve more and dough more pliable}
I added Powdered Tempra Paint {about 3 tbls to the water}
but it was not that noticeable.
More experimenting in the Color Depth Department needed.
I played around with cracker thin dough and it's really nice,
but VERY easily broken
{which might change when varnished/waxed}
Others were a bit thicker.
I'm playing around with all the thicknesses.
They all puffed up which I'm trying to figure out how to get rid of.
HIGHLY RECOMMEND CUTTING ON COOKIE SHEET
Moving the cut~out will very easily distort the shape
Flour your area, roll out dough, and start making shapes.
I've been baking mine at 225* for about an hour for the Cracker Thin
or two hours for the thicker ones.
I want to try air dry next to see how those work.
After doodling around with Designs,
I used Clear Acrylic Matte Spray to coat.
Not to happy with the results.
The Ink bled, and it sort of yellowed the dough.
I came across one post that "waxed" their Ornaments,
by melting it and brushing it on
or dipping it.....not sure about this one.
Resin dipping is also used.
Bread Dough Ornaments are':
*Traditional
*Very Inexpensive
*Kid Fun
What isn't there to like and enjoy??