Showing posts with label Egg Art. Show all posts

Thursday, December 10, 2009

Yulemas Egg Gift Crafting ~ say GLiTTeR!!!3

My Favorite Part ~ Accessorize!!!

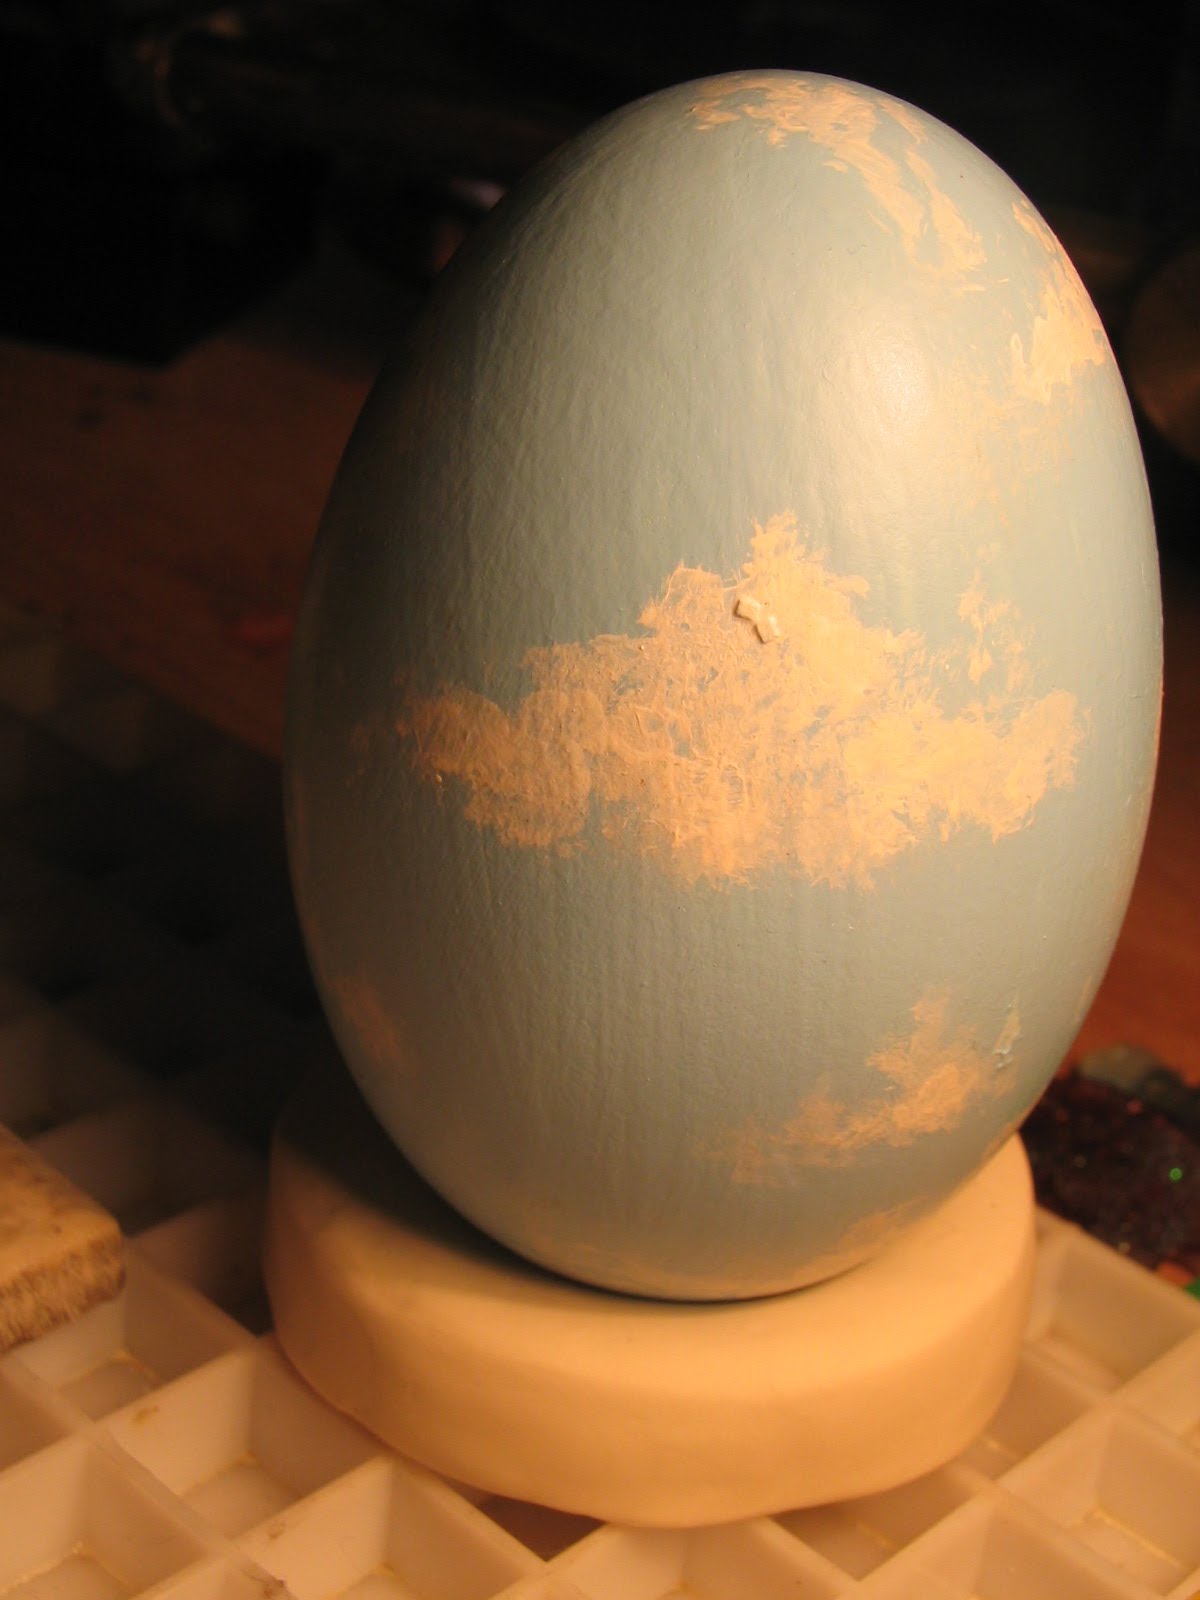
I started off by painting the outside
{remember, you've already GLiTTeRized the inside}
I placed some bent wire in the vise to hold the Eggs 
while painting and to dry.
Paint the outside BEFORE you decorate the inside or everything will be topsy turvy.
 
Some of them, I painted decorative.
Most of them, I painted a solid color.

My fondness for creating Flowers from beads was thoroughly Indulged.
and look at the GLiTTeR
{Priscilla was oh, so verra proud}


 The hardest part was trying to figure out what to create for each Person.
I asked a lot of questions
to get a feel on where to take this grOOve.

The GoDDeSS Egg is my Sweet Pick.
I have to say, I am so very pleased with my Self 
for creating that Goddess Sculpture.
Sculpting is not my forte'.

This Egg was done for a friend who misses her beloved PuP.
I wasn't that happy with the print out of Seamus, but after looking and looking, I had no choice. I printed the picture, used rubber cement to glue it to plastic sheeting, and cut it out. 
I was very happy about the Angel Wing Name Tag.
I stamped his name onto a piece of copper sheeting, then used my jewelers saw to cut around it. Gently filed the edges, and using E6000 glue, attached the tag to the wings.
I used hot glue to attach the wings to the Egg.

For all the Bead Flowers, 
I used specialty glass beads from my favorite shop
in New Orleans, decorative bead wires, confetti pieces, fabric flowers...

 In order to attach them, I cut two small squares of balsa wood
and used the dremel to drill tiny holes at random on the square.
Then for each wire, bent the end a smidgen to a 90* angle.
Slip the angled end through a hole and spot stick it with hot glue.
 
When each wire is glued, I placed a blob of hot glue over the ends
and then attached sandwich~style the other balsa square.
Hold firmly til the glue cools.
I used the hot glue to attach the whole thing to the bottom of the Egg.

 Once that cools and is firmly in place,
cover the bottom of the Egg with elmers glue and GLiTTeR
{even MORE GLiTTeR...Priscilla may pass out}

and there You have it,
a piece of art, unique, creative, and most assuredly, LoVeD.

As mentioned, next time, we're going bigger.
And I'd like to try carving the whole Egg.

Have a Gloriously Eggy time!

The Artists Market and Bead shop

Wednesday, December 9, 2009

Yulemas Egg Gift Crafting~say GLiTTeR!!!2

 
Egg Stand

In need of something to stand the Eggs on,
not wanting to spend the money
or the time
to order them,
I told my Self....Self, You can do it!

Sculpey Clay just plain RoCks!

Supplies:
Sculpey Clay
regular Egg
Small glass or circle cookie cutter
Cornstarch 
 
Pat out a thick slab of Sculpey.
Approximately 1/2" thick. 
 
 Cut your circle out.

Using the regular Eggs, press firmly into center of clay circle. Try to go straight down, for this will create a deeper well for the Egg Art to set in.
 
 Bake in oven. I bake mine on a low heat, 200*, for about 30 minutes.
{check package directions}

Once the Egg Stands are cool, you can decorate.
I did try CoPPer Foil, but that made it too slippery,
and the gOOse Egg kept tilting.
I was pressed for time so I didn't get to experiment with 
things to anchor the Eggs to the stands.

Tuesday, December 8, 2009

Yulemas Egg Gift Crafting ~ say GLiTTeR!

 
   Watching an episode of Craft Lab one afternoon,
this artist was creating Egg Art.
I have a this LoVe~thing for Mini~creations.
Hence, My LoVe for resin.
I digress..
Using Blown Goose Eggs,
She created scenes for the inside.
For the episode, She did Alice in Wonderland
{its Reallly hard to find the episode, 
for some reason hgtv and diy network
have gotten rid of alot of Craft Instructions and Videos.}
That hooked me in further.
but this, this was the absolute final sinker ~ GLiTTeR!
{Priscilla smiles}
The whole inside was just a luscious layer of GLiTTeR.
 Thats it. I'm doin it.

So I ordered the Eggs.
I ordered Duck Eggs
                                                and Goose Eggs.
The Duck Eggs were small.
The Goose Eggs were about 8.0/8.5.
I did not do well with carving/cutting the Duck Eggs.
The Goose Eggs were great, but I'm going bigger next time.

 
WARNING: MAKE SURE AND WEAR PROTECTIVE GLASSES AND DUST MASKS!!!

Mark Your opening on the Egg. 
When You start cutting, go smaller,
cutting on the inside of the line.
You can always enlarge the opening later.
I used a fine point dremel carving/engraver bit to Carefully and Slowly drill a hole
and then follow the line drawing as carefully as possible.
     Mine created a lot of dust.

Beautiful, yet creepy, in a body snatcher kind of way, don't you think?
Using a dremel sander bit, turn the dremel on to the lowest setting and Carefully and Slowly
sand the rim of the opening.
After the cutting and sanding, I washed the Eggs, then let them air dry.

Now, here comes the YummY part.
The GLiTTeRizing!

Using good old Elmers glue, put a nice decent layer of glue on the inside, making sure to cover the whole surface up to opening.


Generously! pour the GLiTTeR into the Egg, and SwishSwishSwish...
coat the indside. 
Pour out the excess onto a creased piece of paper to pour back into the GLiTTeR bottle.


Oh, Deliciou~zo.


Metzer Farms